low-carb

Flourless Chickpea Blondies


The first time that I made this recipe marks the first time that I… peeled an entire can of chickpeas! It was tedious 🙃 but worth it! I don’t know that I’ll take the time to do it very often (or ever again), but it does result in a smoother product when the chickpeas get blended together.

I don’t bake things very often either, but these were super yummy and come together pretty quick! (if you don’t peel the chickpeas) 😉


FullSizeRender.jpg

Yield: 6-8 blondies

What You’ll need:

  • 1 15-oz can chickpeas

  • 1/2 cup peanut or other nut butter

  • 1/3 cup ground flax

  • 1/3 cup honey or maple syrup

  • 1 tsp cinnamon

  • 1 tsp vanilla extract

  • 1/4 tsp baking powder

  • 1/4 tsp baking soda

  • 1/4 tsp salt

  • 1/3 cup mix-ins (chocolate chips, coconut shreds, chopped nuts, etc.)

  • optional: 1-2 scoops collagen peptides (does not change flavor or texture, just adds protein)

Directions:

  1. Preheat oven to 350F.

  2. Rinse and drain chickpeas. Blend in a food processor or high-speed blender until smooth.

    • Optional: before blending, peel the skin of each chickpea. This will result in a smoother product and makes the chickpeas easier to digest as well.

  3. Add nut butter, honey or maple syrup, and vanilla extract and blend again until smooth.

  4. Add flax, cinnamon, baking powder, and baking soda and blend again until smooth.

  5. If needed, add 2-4 TB liquid (milk, water, etc.) and blend until the batter is dense and smooth, but not runny.

  6. Stir in chocolate chips and/or other desired mix-ins. Do not blend.

  7. Pour batter into a greased 8x8 baking pan and bake for about 20 minutes, until batter is no longer wet or sticky.

  8. Allow blondies to cool and cut into 6-8 pieces. Drizzle with nut butter if desired.

    • I stored mine in the fridge for a cool treat. They were gone in 2 days, but should last up to a week!

IMG_5218.jpg


Frozen Chocolate Protein Cookies


Fridge and pantry clean-outs always have me creating new recipes and combinations, and these little ‘cookies’ are no exception!

They’re really high in protein and fiber, and you can sprinkle any garnish on top that you like… powdered sugar, shredded coconut, chocolate chips, etc. Or you don’t have to add anything if that’s your style!

The collagen peptides are completely optional as well. Adding them won’t change the taste or texture of the cookies, but it will add some extra protein. Collagen is the most abundant protein in our bodies, and taking it is great for hair, skin, nails, joints, and even your gut. I use THESE ones!


IMG_3302.jpg

WHAT YOU’LL NEED:

  • 1/2 cup canned pumpkin

  • 2 scoops (1 serving) chocolate Nuzest protein powder

  • 2-3 TB coconut flour

  • 3 TB ground flax

  • 3 TB cocoa powder

  • Dash of maple syrup

  • Optional: 1 scoop collagen peptides

DIRECTIONS:

  1. Mix all of the ingredients together in a small mixing bowl. Add 2 TB of coconut flour to start, and gradually add in up to another TB until the batter consistency is only slightly sticky.

  2. Spoon rounded scoops of batter onto a baking sheet or plate lined with parchment paper. Flatten gently and sprinkle topping, if desired.

  3. Let cookies sit in the freezer for at least 1 hour. Enjoy!


How I Make Perfect Spaghetti Squash


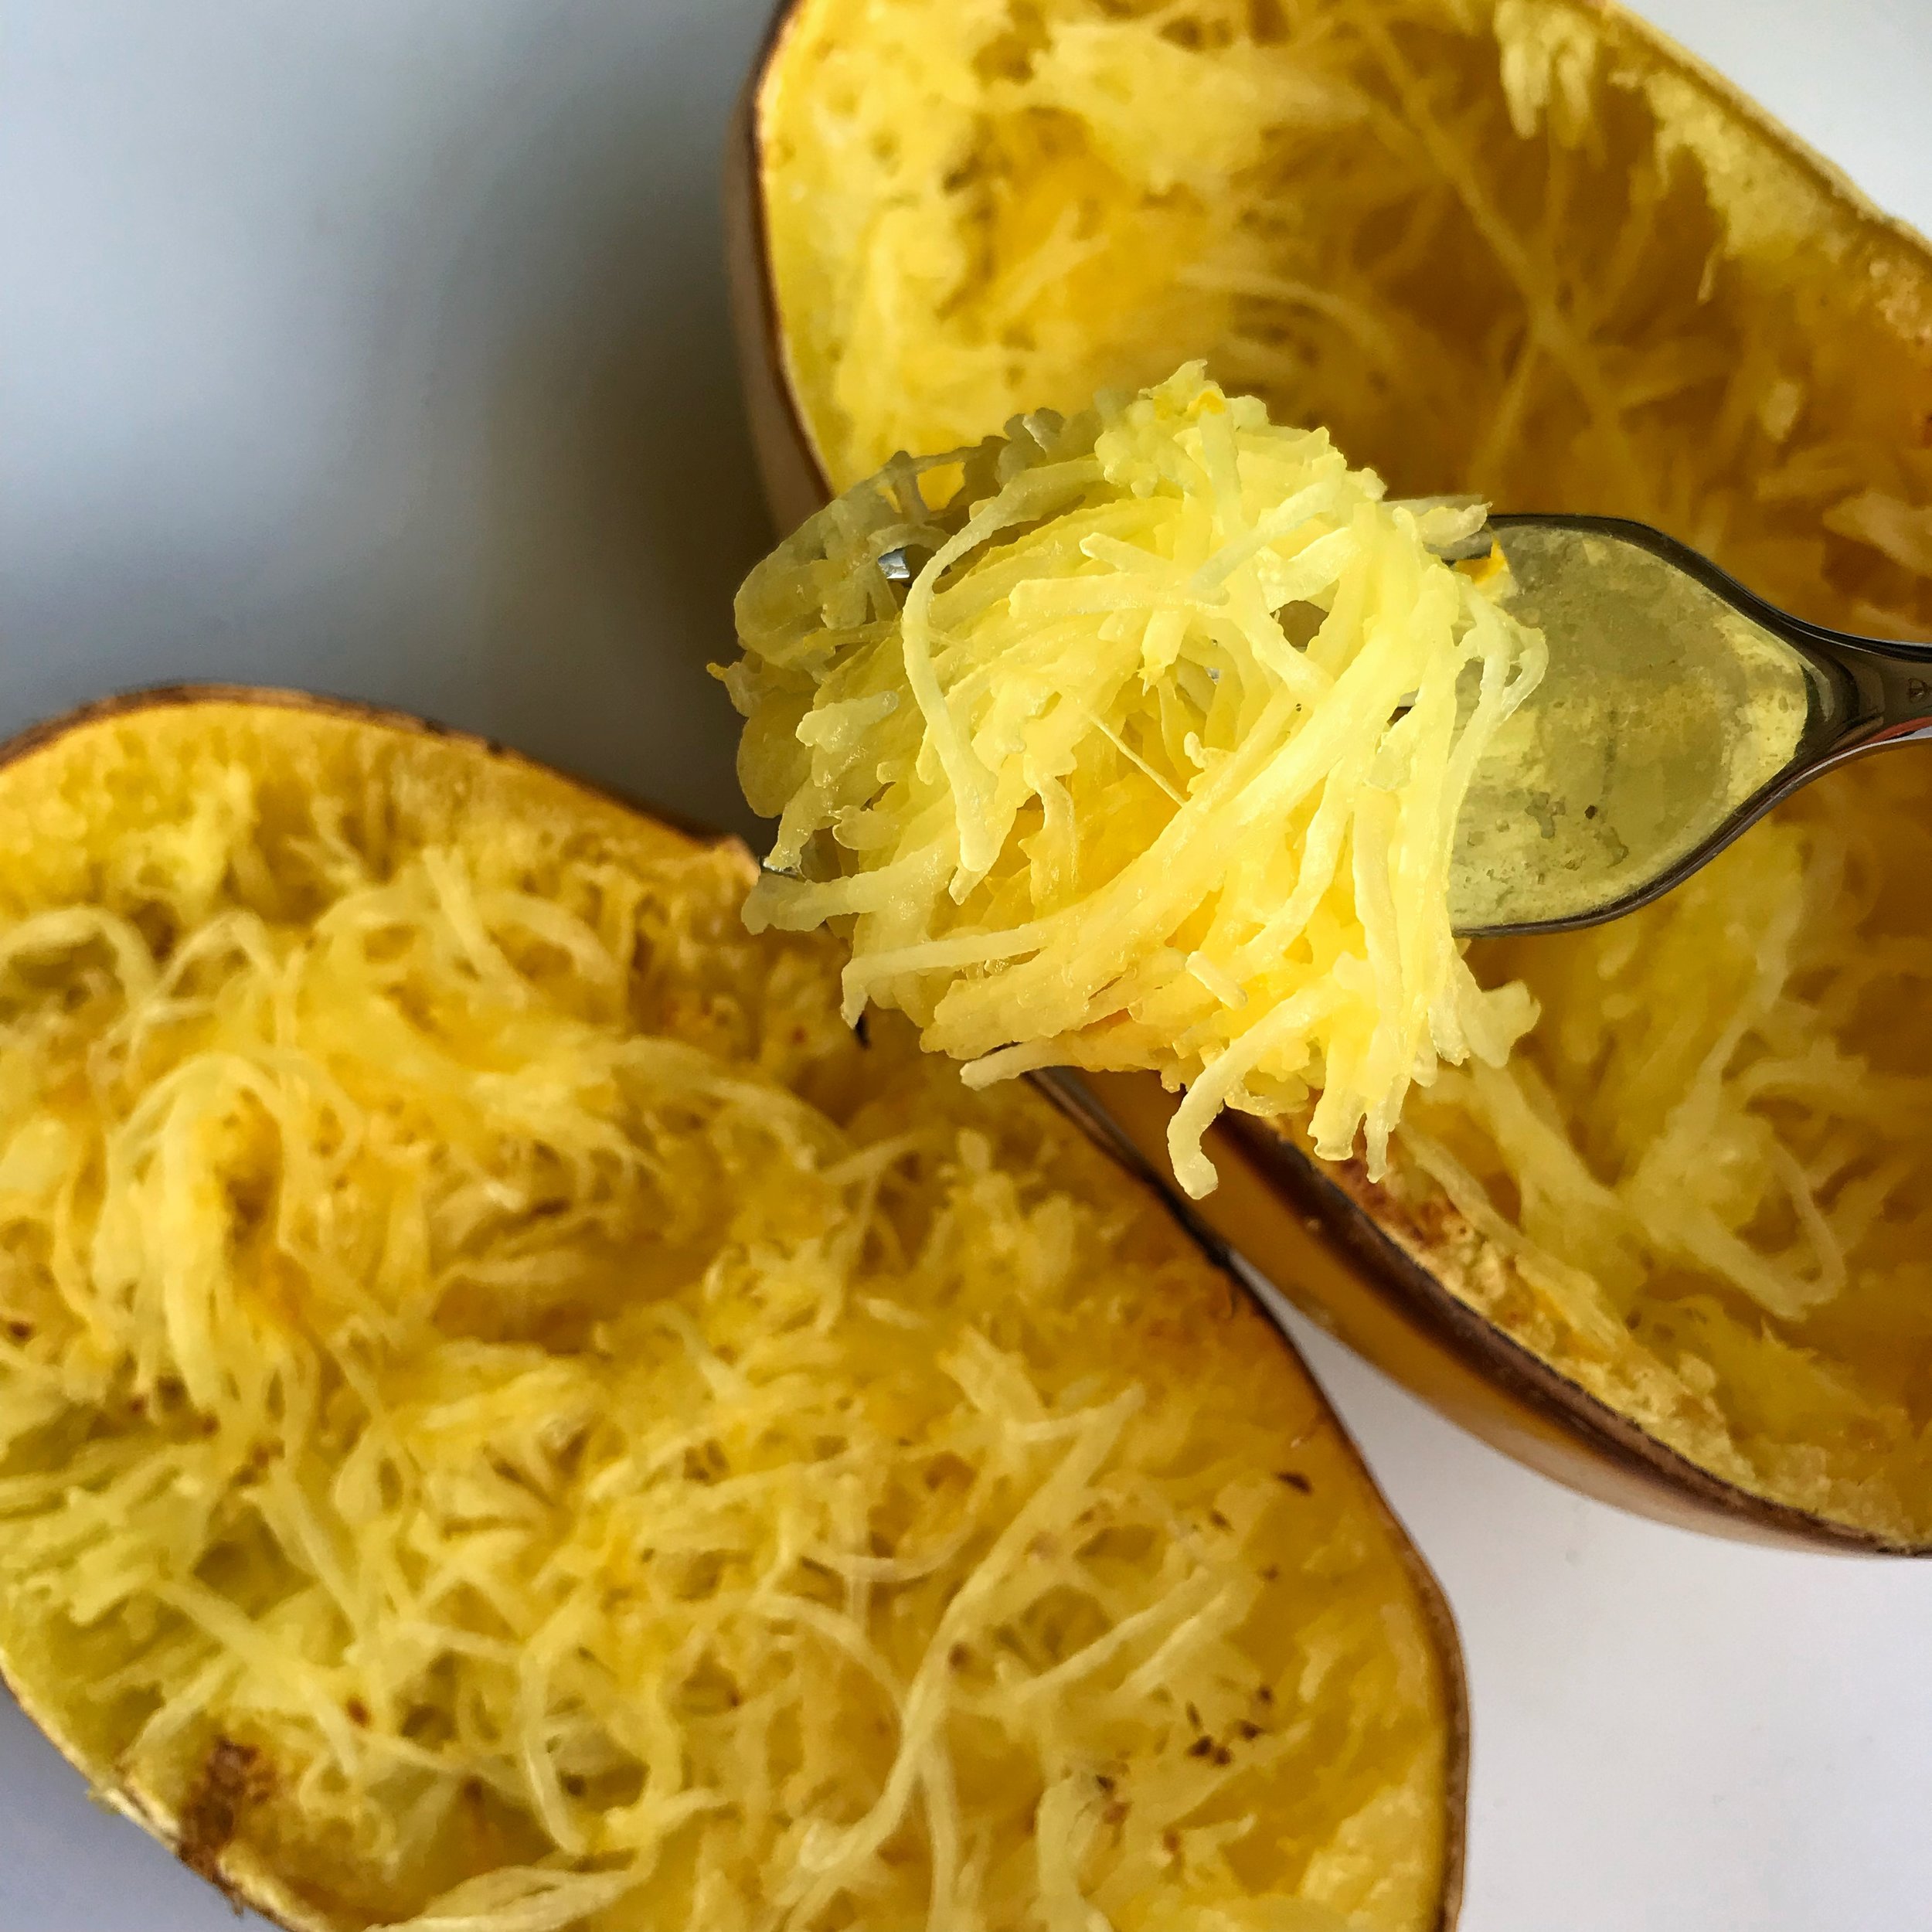
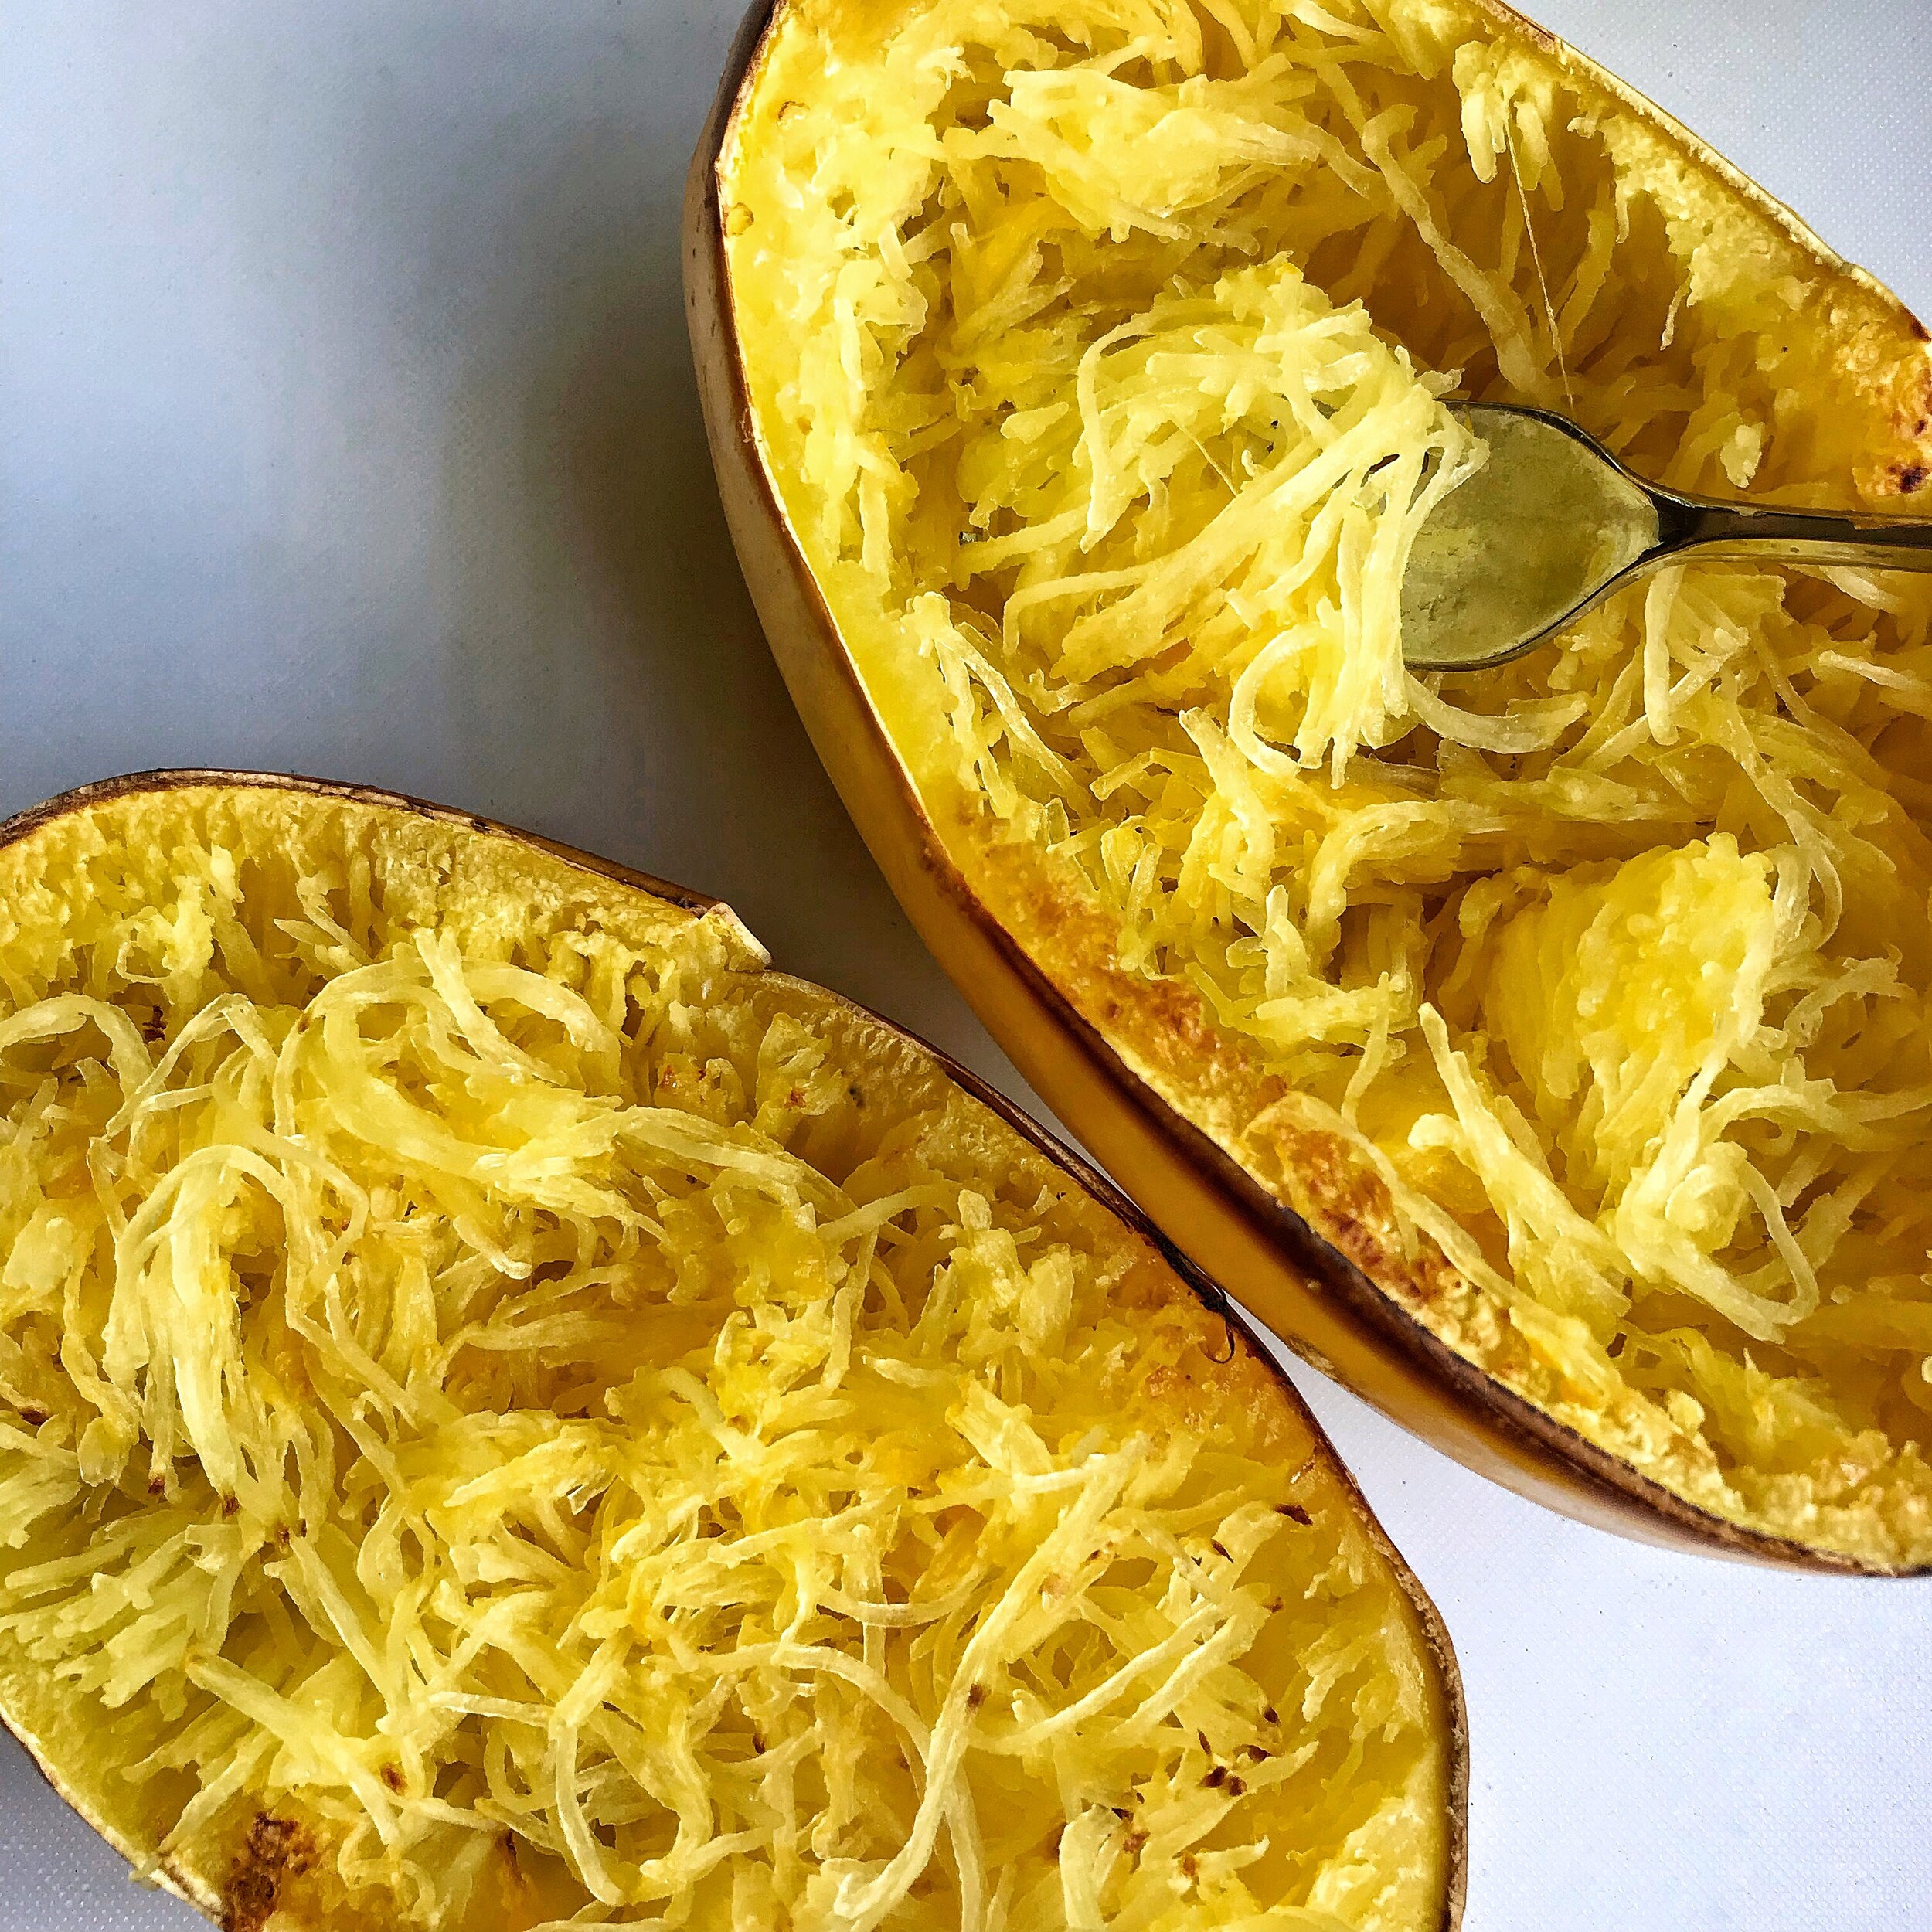
Especially in the fall, spaghetti squash is one of my favorite things to meal prep. I love all squash really, but spaghetti squash is so much fun! I’ve cooked quite a few of them in my day, and I’ve discovered some tips & tricks to get those perfect “noodles” every time. Read on to hear them & try it for yourself!

IMG_4994.jpg

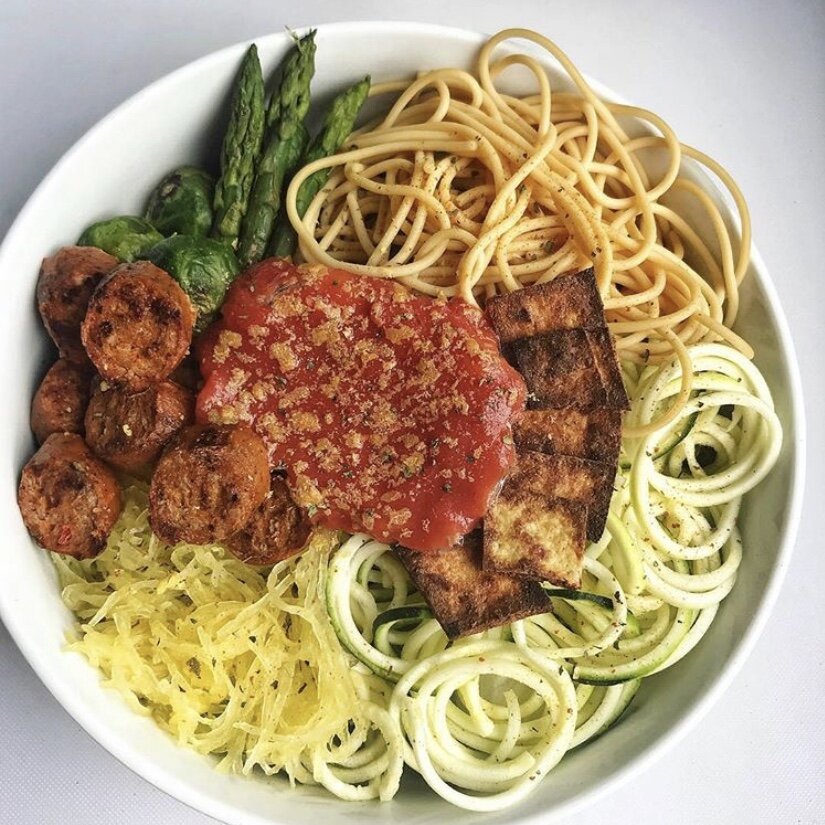
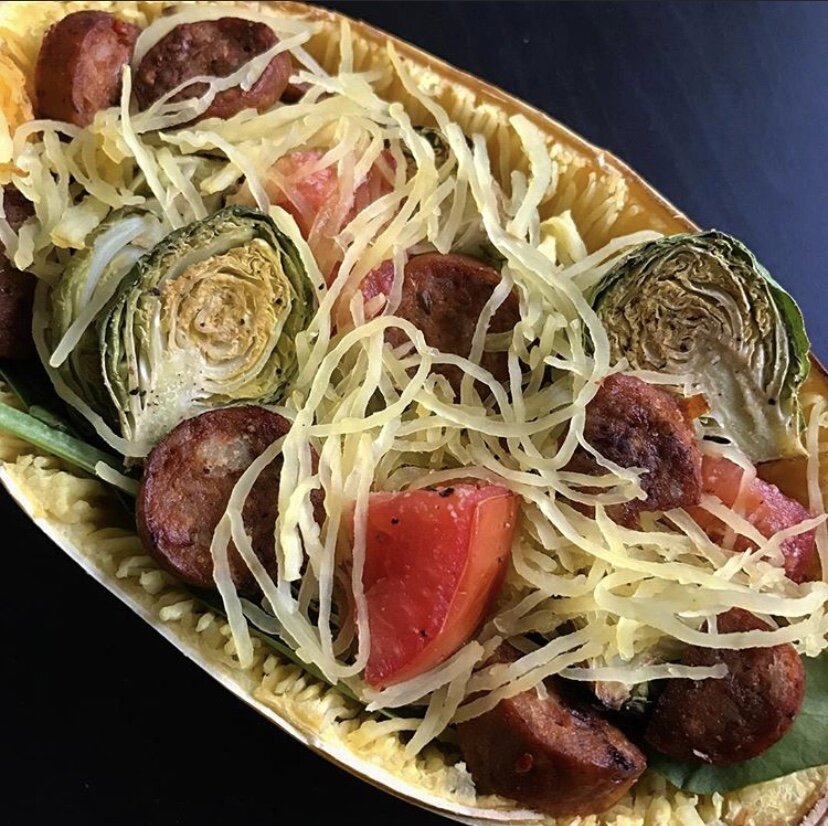
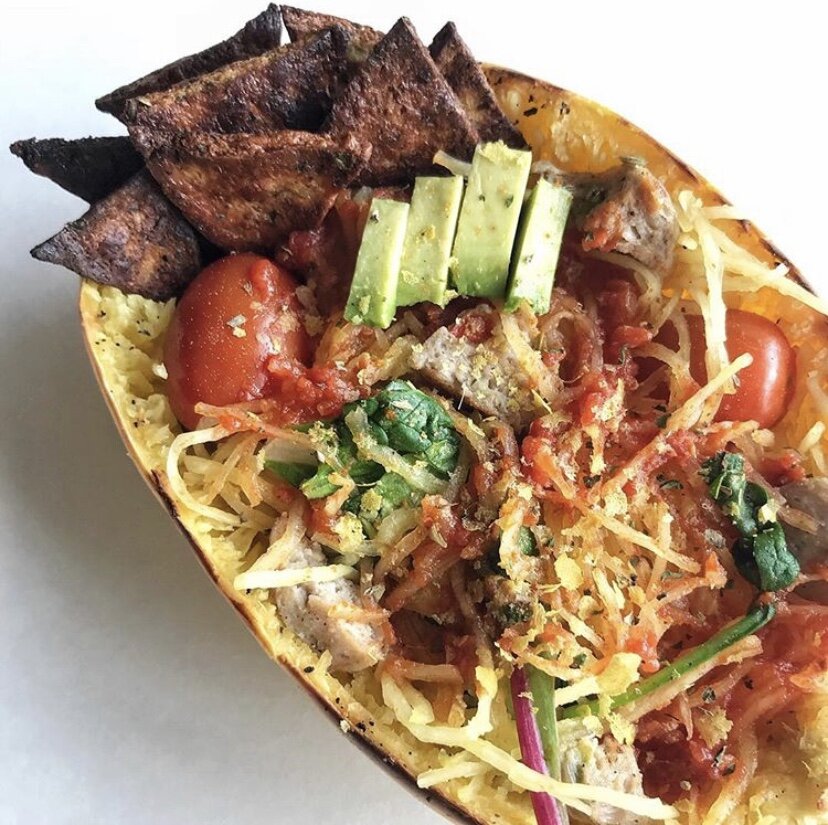
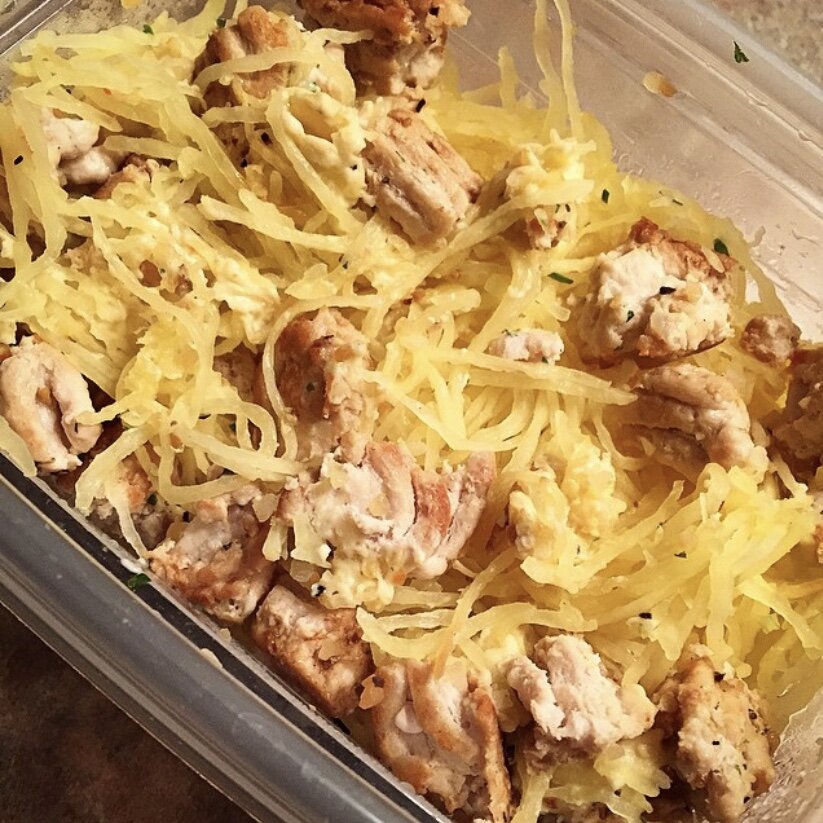
One of the simplest meals to make using spaghetti squash is just to saute it with some marinara sauce & ground turkey or chicken sausage. I like to have a piece of garlic toast on the side for some carbohydrates, too. You could also bake it into a casserole dish, like this one. The list goes on & on!

To make your squash:

  1. Cut spaghetti squash in half & place face down on a baking pan or in air fryer basket.

  2. Cook.

    • Oven: Cook on 425°F JUST until the skin starts to give & feel a little bit soft. Any further than that, your ‘spaghetti’ will be more like mush. (It usually takes about 30 minutes)

    • Air fryer: Cook on 400°F for 15 minutes.

  3. Let the squash cool completely & then de-seed the middle. (Everything should come out in one scoop!)

  4. “Shred” the squash with a fork to make your spaghetti.

  5. You can store it in an airtight container in the fridge for up to a week. I like to put a paper towel in it as well to soak up any extra moisture.


    I don’t add any oil or seasoning until I’m reheating the squash in a pan to eat (rather than just meal prepping it). That way, I can essentially make it any flavor I want with whatever additions I have on hand! 


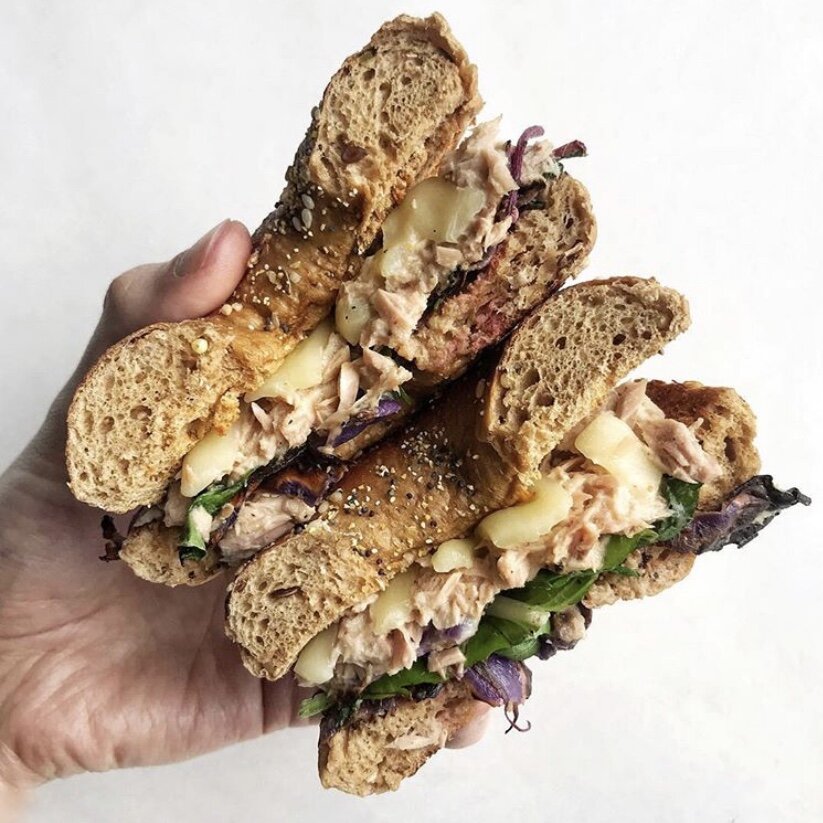
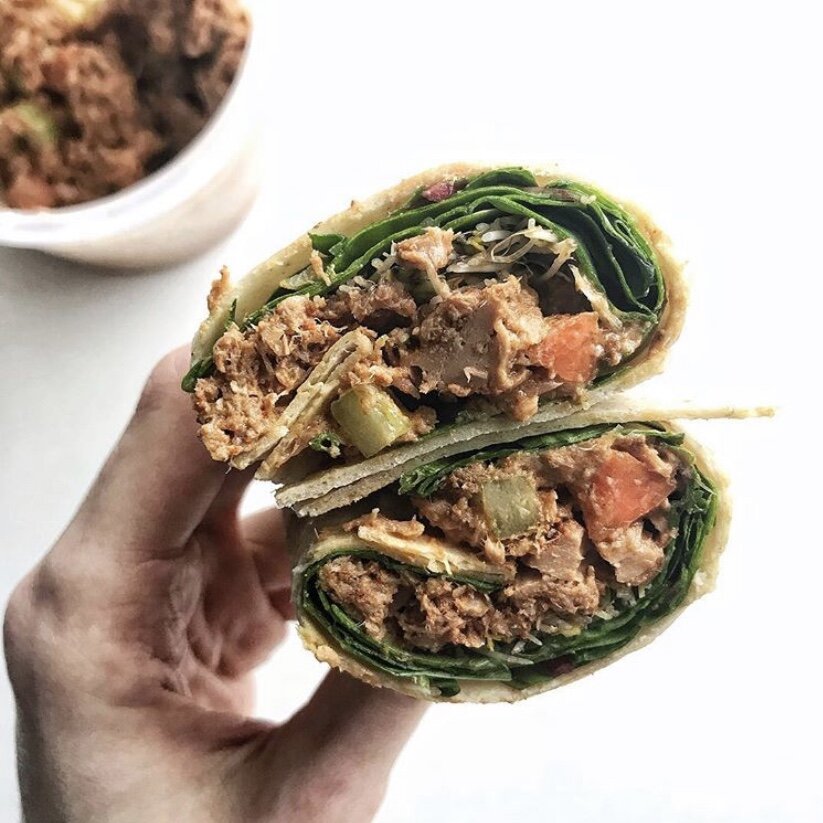
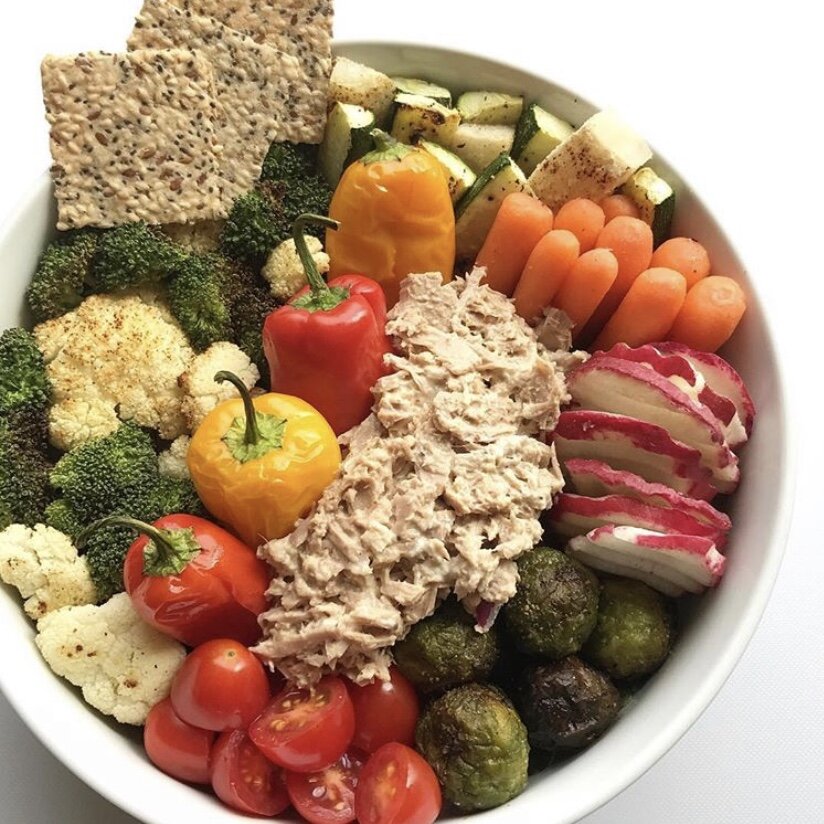
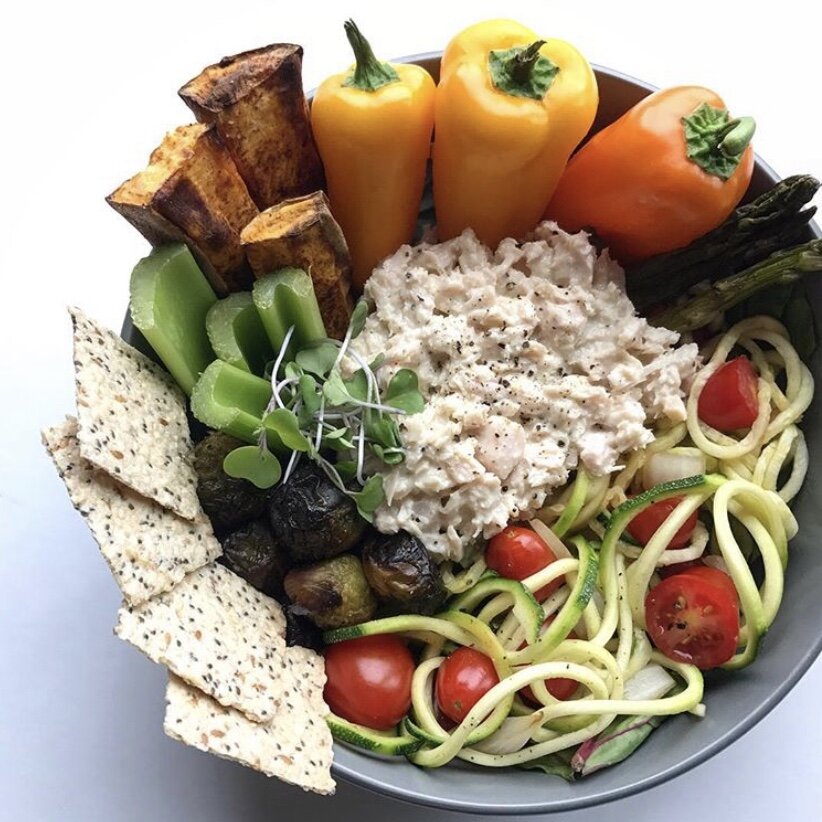
Healthy Never-Fail Tuna/Chicken Salad


When I was younger, I despised any form of chicken or tuna salad. I didn’t like tuna, for one, but mayonnaise disgusted me. That part hasn’t changed (sorry mayo), but let me tell you what has…


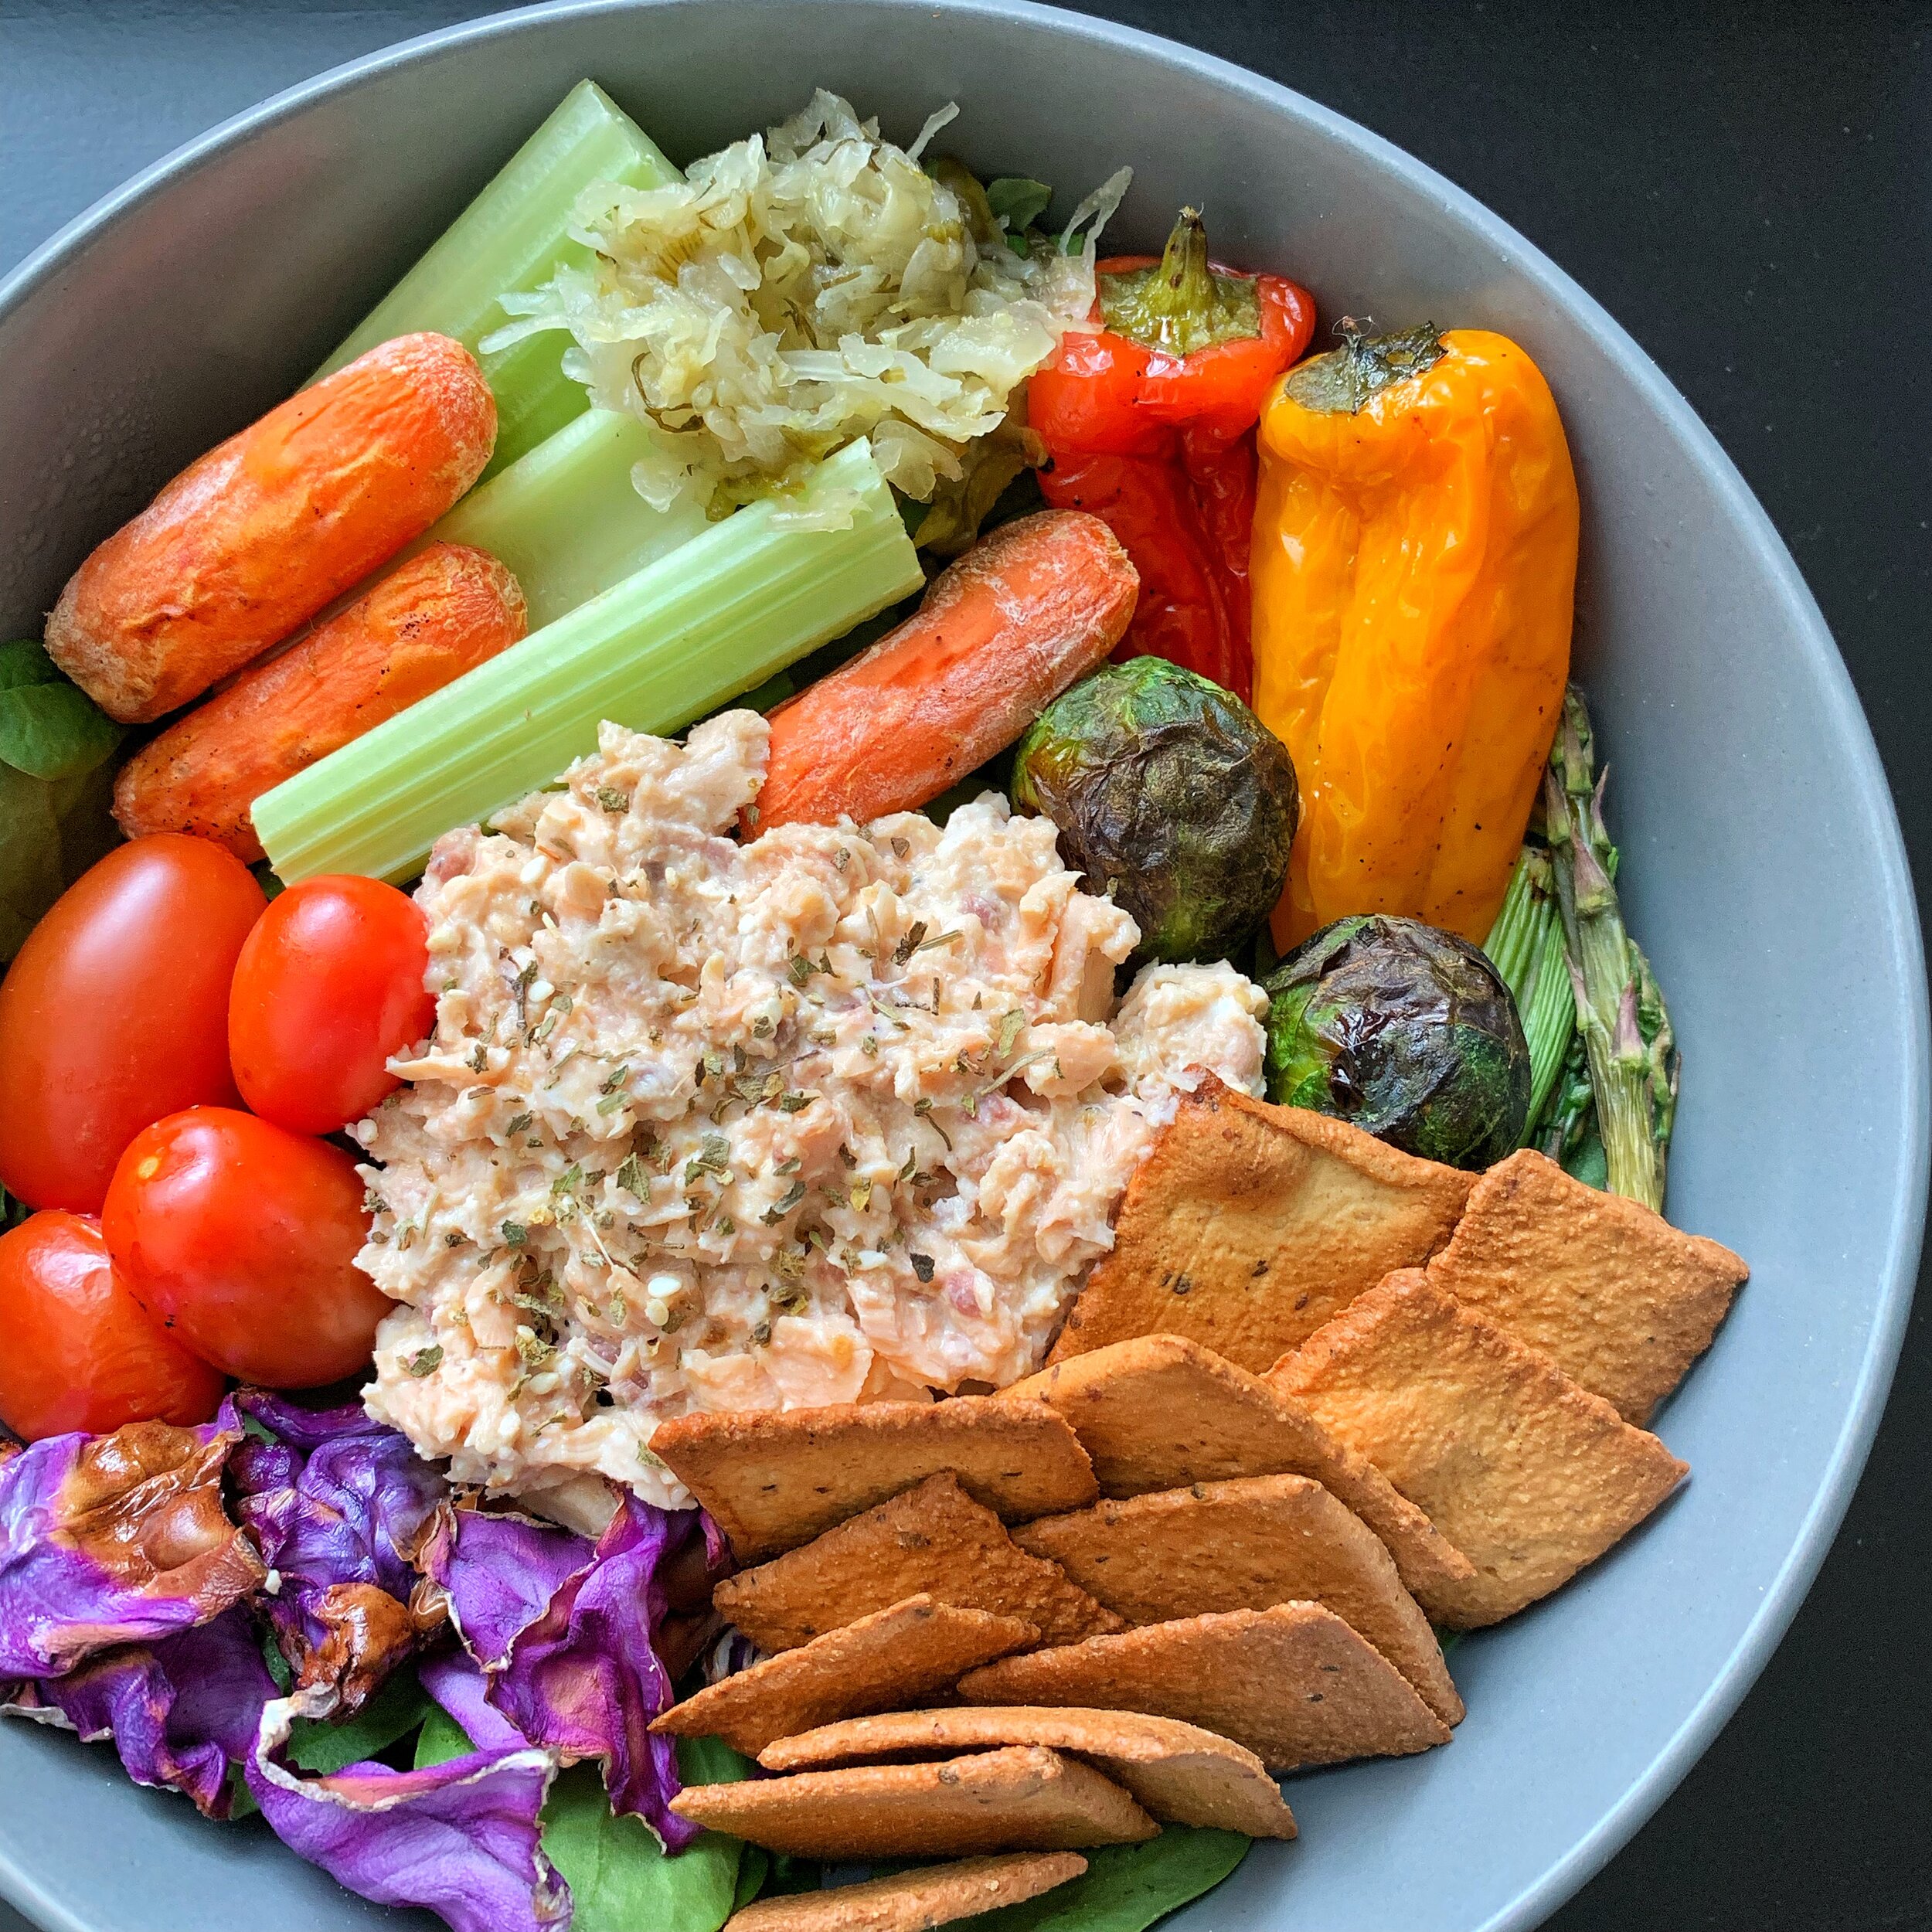
I now eat tuna and/or chicken salad at least once a week. I have been for a couple years, and I’ve been using the same recipe since way early on. It’s simple, quick, healthy, and DANG good.

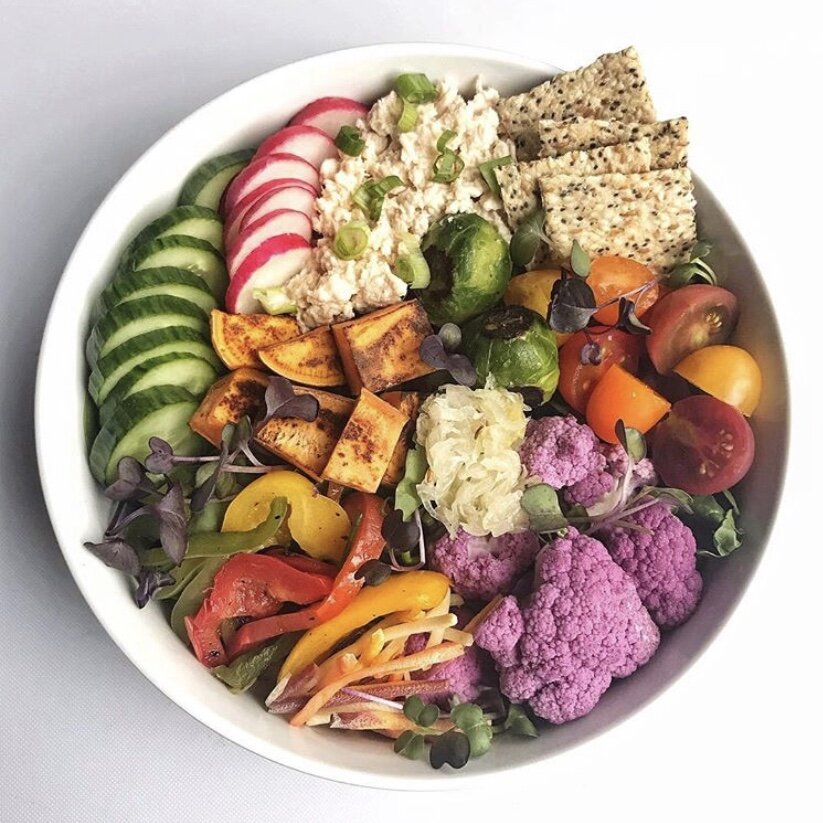
It’s also versatile, because I use this recipe with both canned tuna and chicken, as well as canned salmon! I love eating it with crackers, on a sandwich, or building a fancy bowl or salad around it.


If you are a mayo fan, have at it! Feel free to use mayonnaise or a vegan alternative in place of the yogurt. It’s just not my thing 😝


IMG_2118.jpg

what you’ll need:

  • 1 can of chicken, tuna, or salmon

    • If using a “no salt added” variety, you may need to add salt to taste

  • 2-3 TB plain Greek yogurt

  • 1/2-1 TB mustard (yellow, honey, spicy, dijon, etc.)

  • garlic powder

  • lemon pepper seasoning

Mix everything together and you’re done! If not eating right away, store in an airtight container in the fridge.


3-Ingredient Biscuits

FullSizeRender.jpg

These were a little kitchen experiment gone SUPER delicious. The first time I made them, I sat down and ate the whole batch right then and there… LOL!

Short disclaimer that there is nothing wrong with carbs… at all. Our diets should be over 50% carbohydrates, because they’re our main source of energy! However, if you’re getting carbs from other sources, there’s nothing wrong with enjoying a low-carb treat, like these :)


Yield: 4 medium-sized biscuits

WHAT YOU’LL NEED:

  • 2 cups riced cauliflower

  • 1 large egg

  • 1/4 cup coconut flour

  • Seasoning of choice

directions:

  1. Preheat oven to 400 degrees F.

  2. Squeeze all liquid out of the cauliflower rice using a paper towel or cloth.

  3. Beat the egg into the cauliflower until it is coated and sticky, and then mix in the flour. Season as desired. (I used salt, pepper, garlic powder, and herb seasoning)

  4. Scoop the batter into 4 balls and form into “patties” about 1/4-1/2 inch thick. Place on a baking sheet lined with parchment paper, and sprinkle additional seasoning on top, if desired.

  5. Bake for 20-25 minutes, or until golden and cooked through. Enjoy!