vegan recipe

Vanilla Cold Brew Overnight Oats


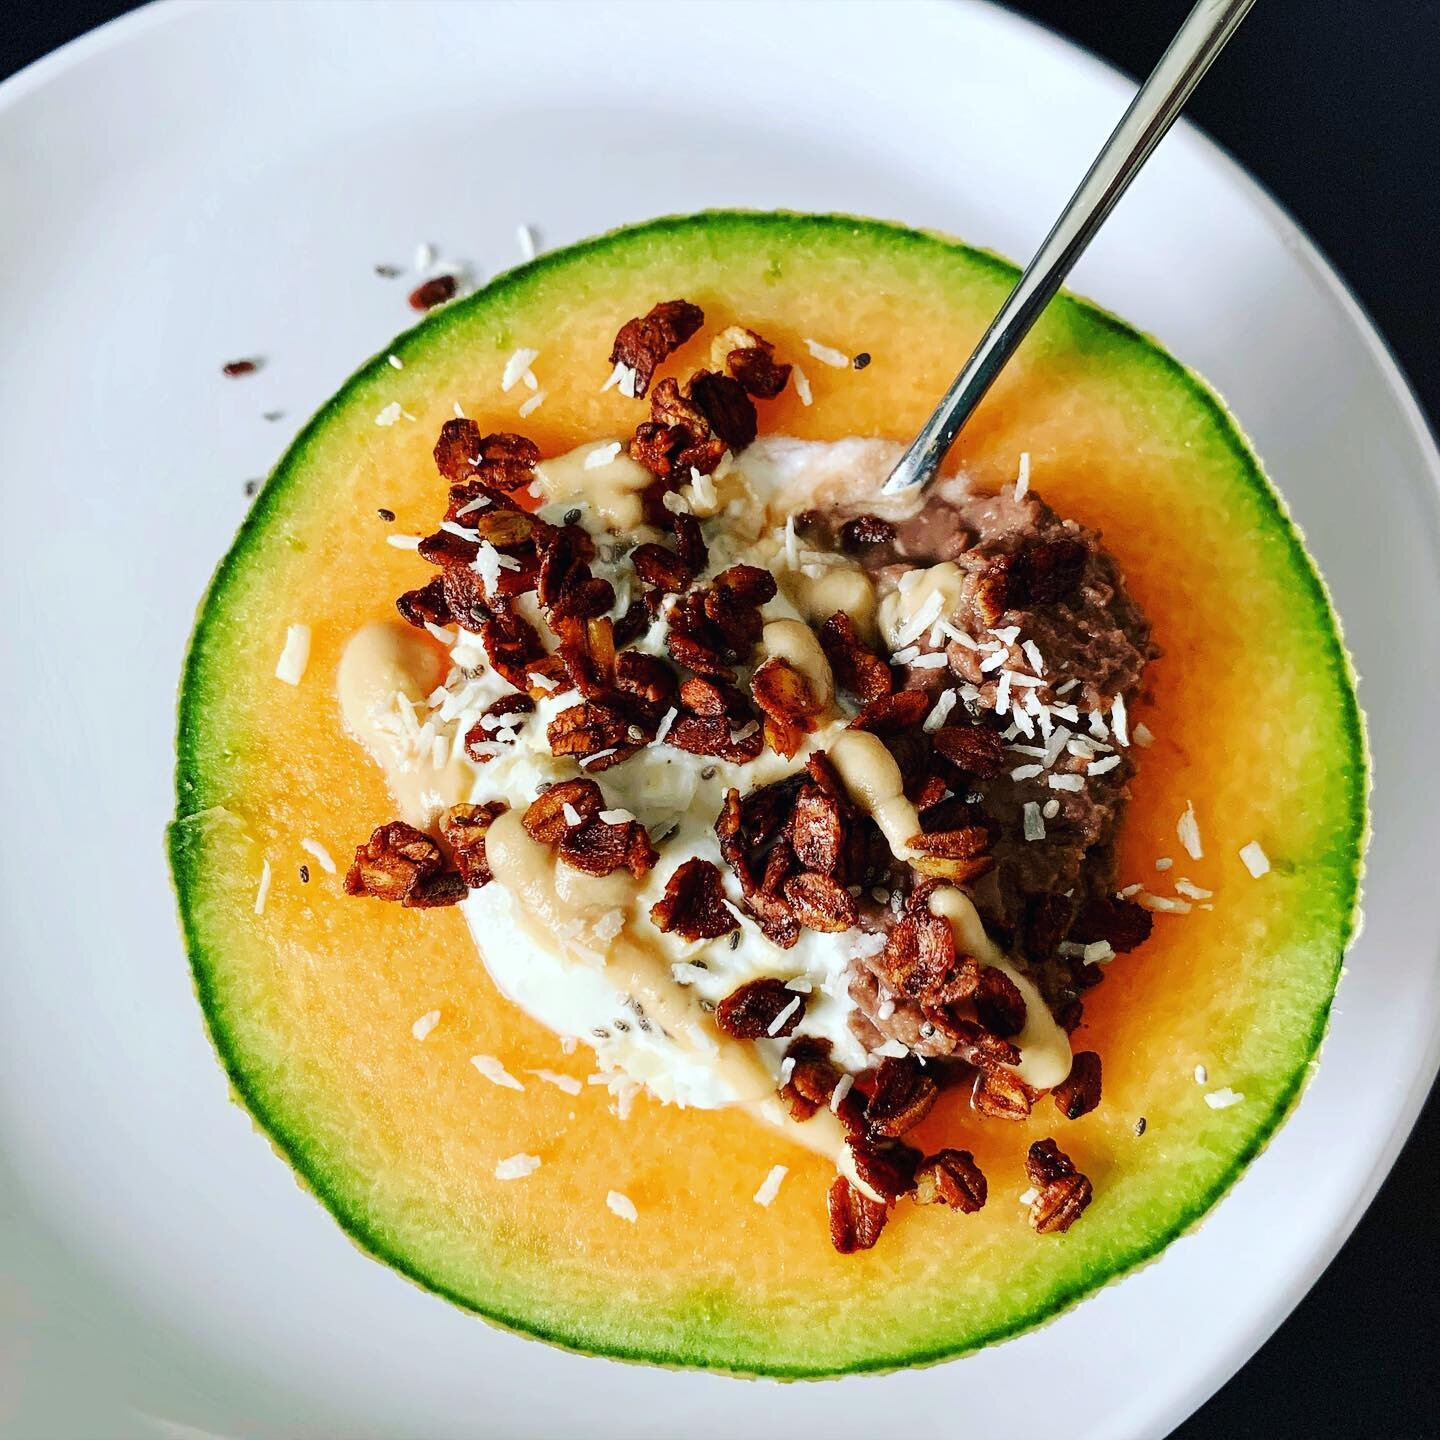
Quick and easy breakfasts are a major staple in my house, always paired with a small cup of HOT coffee. Iced coffee and cold brew aren’t usually my thing, but these vanilla cold brew overnight oats DEFINITELY are!


FullSizeRender 3.jpg

I used Wandering Bear Cold Brew coffee and would highly recommend it if you’re into coffee! The flavor it added to these oats was absolutely perfect.

discount CODE “KEEPYOURLIFEALIVE


What you’ll need:

FullSizeRender 2.jpg
  • 1/2 cup rolled oats

  • 3 TB cold brew coffee

  • 1/2 cup milk of choice

  • 2 tsp chia seeds

  • 1 scoop (1/2 serving) vanilla Nuzest protein powder or protein of choice

  • 1-2 tsp maple syrup (to taste)

  • Dash of vanilla extract

  • Dash of cinnamon

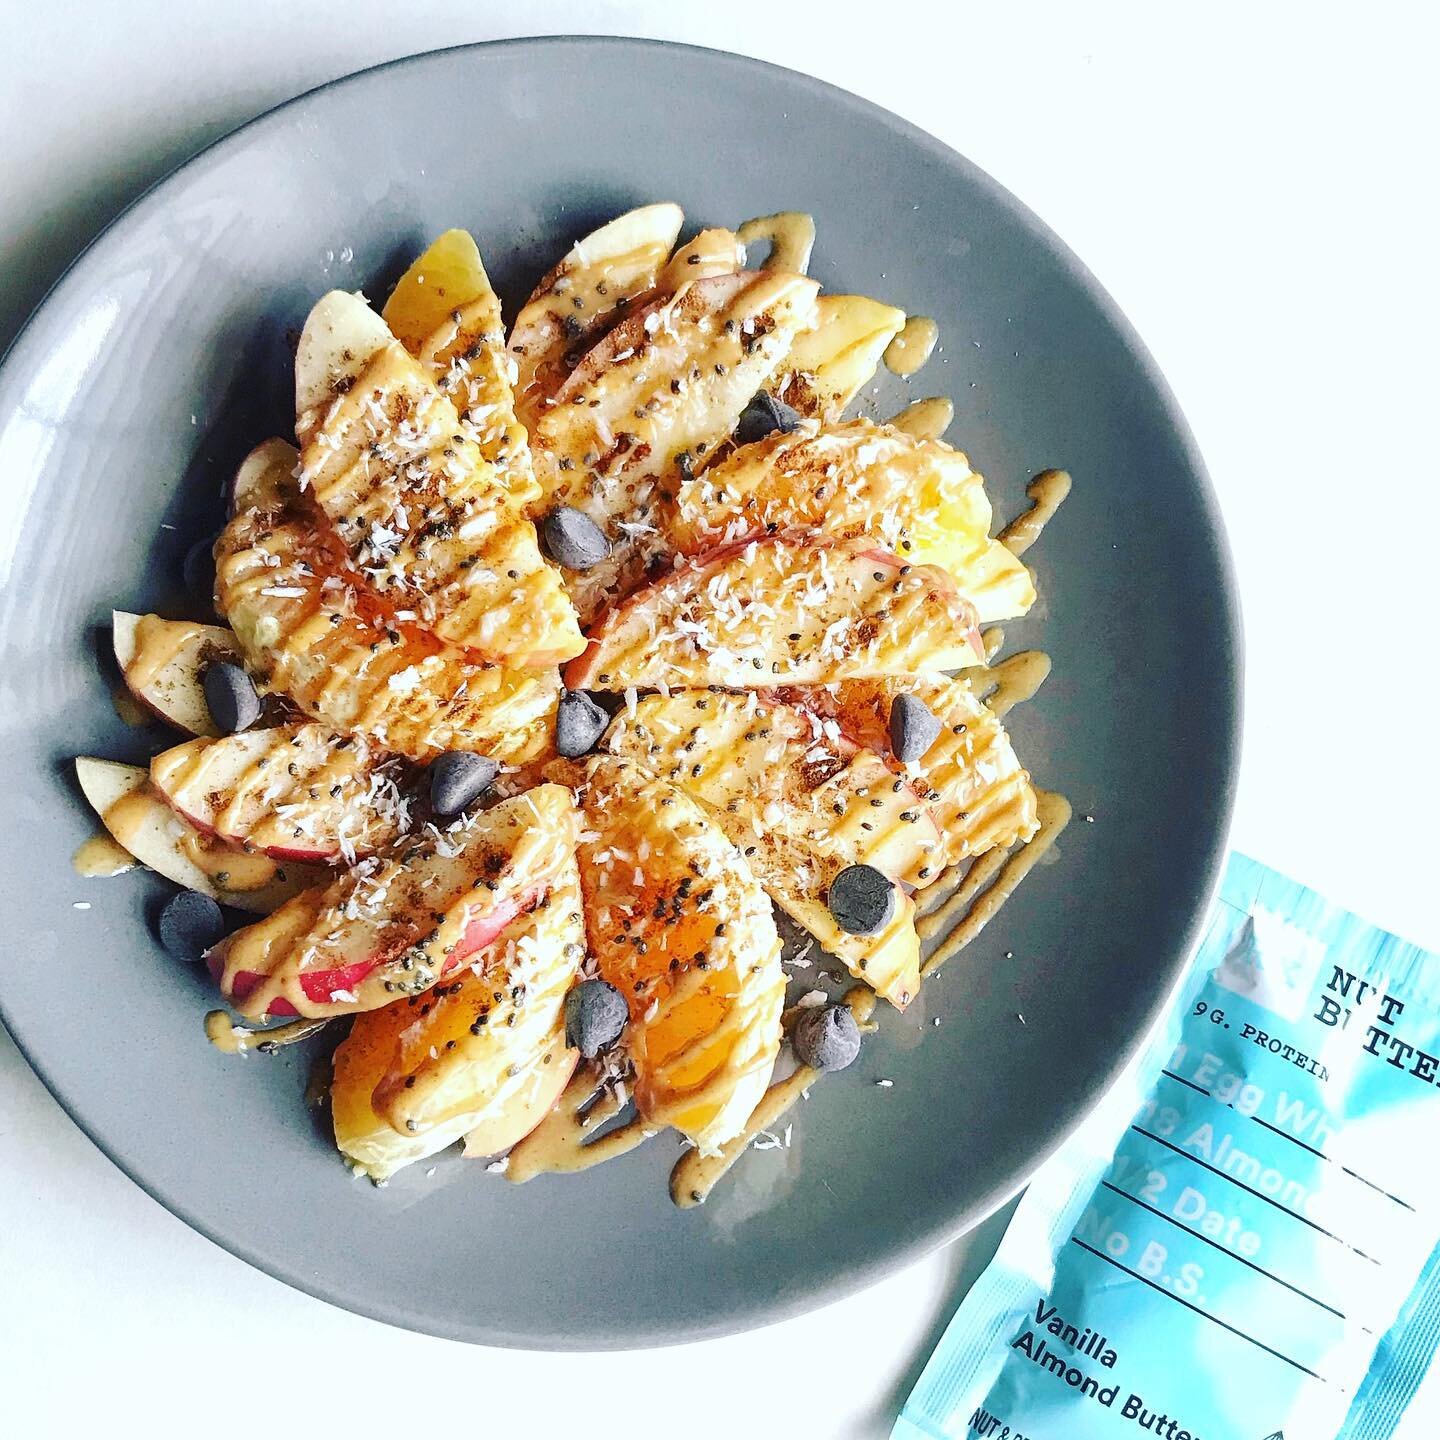
Mix all ingredients together and store in the refrigerator overnight, up to 5 days. Top with fruit, nuts, nut butter, coconut, etc. as desired!


Flourless Chickpea Blondies


The first time that I made this recipe marks the first time that I… peeled an entire can of chickpeas! It was tedious 🙃 but worth it! I don’t know that I’ll take the time to do it very often (or ever again), but it does result in a smoother product when the chickpeas get blended together.

I don’t bake things very often either, but these were super yummy and come together pretty quick! (if you don’t peel the chickpeas) 😉


FullSizeRender.jpg

Yield: 6-8 blondies

What You’ll need:

  • 1 15-oz can chickpeas

  • 1/2 cup peanut or other nut butter

  • 1/3 cup ground flax

  • 1/3 cup honey or maple syrup

  • 1 tsp cinnamon

  • 1 tsp vanilla extract

  • 1/4 tsp baking powder

  • 1/4 tsp baking soda

  • 1/4 tsp salt

  • 1/3 cup mix-ins (chocolate chips, coconut shreds, chopped nuts, etc.)

  • optional: 1-2 scoops collagen peptides (does not change flavor or texture, just adds protein)

Directions:

  1. Preheat oven to 350F.

  2. Rinse and drain chickpeas. Blend in a food processor or high-speed blender until smooth.

    • Optional: before blending, peel the skin of each chickpea. This will result in a smoother product and makes the chickpeas easier to digest as well.

  3. Add nut butter, honey or maple syrup, and vanilla extract and blend again until smooth.

  4. Add flax, cinnamon, baking powder, and baking soda and blend again until smooth.

  5. If needed, add 2-4 TB liquid (milk, water, etc.) and blend until the batter is dense and smooth, but not runny.

  6. Stir in chocolate chips and/or other desired mix-ins. Do not blend.

  7. Pour batter into a greased 8x8 baking pan and bake for about 20 minutes, until batter is no longer wet or sticky.

  8. Allow blondies to cool and cut into 6-8 pieces. Drizzle with nut butter if desired.

    • I stored mine in the fridge for a cool treat. They were gone in 2 days, but should last up to a week!

IMG_5218.jpg


Cookie Dough Protein Balls


Quarantine 2020 had me in the kitchen lots 👩🏼‍🍳 and this is one of the recipes I threw together out of boredom and curiousity!


They’re kind of a spin off of my most popular blog recipe: Easy Chickpea Cookie Dough. I’m a really big fan of anything cookie dough 🙂


IMG_4198.jpg

These come together in just a couple of minutes, and I suggest letting them chill for at least 30 minutes before eating them… if you can wait!

You can omit the protein powder if you don’t have any, but you’ll need to add extra oats or flax. You can add any “mix-ins” you want; you’re certainly not limited to chocolate! Chopped nuts, coconut, raisins, or anything else that you like.


What you’ll need:

  • 1 can (15-oz) chickpeas, drained and rinsed

  • 1/4 cup nut butter

  • 2 TB ground flax

  • 1/4 cup oats or oat flour

  • 1 serving vanilla protein powder (this is the one I use)

  • 1/4 cup maple syrup

  • 1 tsp vanilla extract

  • 1/2 tsp cinnamon

  • 1/4 tsp sea salt

  • 1/2 cup chocolate chips or chunks


Directions:

  1. Place drained and rinsed chickpeas into a food processor or high speed blender and pulse until smooth.

  2. Place the rest of the ingredients except for the chocolate into the food processor or high speed blender and pulse until smooth and well combined. You may need to scrape down the sides periodically.

  3. Transfer the dough into a bowl and fold in the chocolate (and anything else you want to add in).

  4. Roll the dough into balls and place on a plate or baking sheet.

    • Note: I like to use about a 2 TB (1/8 cup) scoop when scooping the dough out of the bowl to roll.

  5. Allow the balls to chill in the fridge for at least 30 minutes before serving for maximum palatability.

  6. Store in an airtight container in the fridge for up to a week, or in the freezer.


Pumpkin Cookie Dough Hummus

I don’t know about you, but every time fall rolls around, I’m making a recipe like this at least once a week! It’s great any time of the year, but fall means ALL things pumpkin… right?


This recipe makes a “hummus” texture, but see the recipe below to turn it into pumpkin chickpea cookie dough in one easy step!

In hummus form, spreading it on a mini Western Bagel pumpkin bagel is DREAMY.


IMG_5326.JPG

What you’ll need:

  • 1 can chickpeas, rinsed & drained

  • 1 cup pumpkin purée

  • 1/4 cup nut butter

  • 3 TB maple syrup

  • 1/4 cup nut milk

  • splash of vanilla extract

  • generous sprinkling of cinnamon

  • dash of pumpkin pie spice & sea salt

  • optional: 1 scoop collagen peptides**

For a thicker consistency like chickpea cookie dough:

  • add up to 1/2 cup of coconut flour and/or ground flax (pictured is the texture without these)


Directions:

  1. Blend everything in a high speed blender or food processor & adjust any liquid, sweetener, thickener, etc. as needed.

  2. Stir in chocolate chips or other mix-ins & enjoy! Store in the fridge for up to one week.

IMG_5409.JPG

**Adding collagen peptides will not change the flavor or texture at all. It completely dissolves and will only add protein.

I use Further Food collagen; discount code FINDINGBALANCE!

If you’re unsure of what collagen is or does, I wrote a whole blog post about it and the benefits of taking it. READ IT HERE!


Perfect Air Fried Corn-on-the-Cob

Snapseed 3.jpg

As if I needed another way to use my air fryer…

I don’t think I’ve ever actually bought corn-on-the-cob when shopping for my own groceries. It was only something I’d have at home when one of my parents made it. The process of cooking it was just too unappealing to me, and frozen corn seemed so much easier.

BUT, then I saw these corn on sale 8 for $1, and there’s no way this bargain hunter is going to pass up a deal like that. Now I’ve been buying corn every week!


I’ve been using all of my different Eat Clean Essentials seasonings to make different flavor combinations, and I have yet to find one that isn’t worth sharing! I’ll list a few of my favorites below, and they can all be used with this basic recipe.


Combos:

  • Maple BBQ + maple syrup

  • Limon & Chile + lime juice

  • Lori’s No-Salt Seasoning + dijon mustard

  • Pizza is Life + garlic powder + Parmesan

  • Maple Doodle + maple syrup (a sweet combo!)

  • Grill Master + coconut aminos

  • Spicy Buffalo + plain greek yogurt + hot sauce

Snapseed 2.jpg

Directions:

  1. Remove husks from corn and break cobs in half, if desired.

  2. Place in air fryer basket and spray with oil.

  3. Season with salt, pepper, and any other spices you wish to use.

  4. Cook on 400 degrees F for 12-14 minutes.

  5. Add other flavoring ingredients (i.e. maple syrup, lime juice, yogurt, cheese, etc.), and enjoy!